The six launch infected
| Enemy | Threat | Behavior | How to handle it |
|---|---|---|---|
| Dreg | Low to medium | The common infected; multiple variants such as Dreg Voltigeur, Dreg Military and Dreg High Class, with different loot pools | Avoid groups, use cheap ammo, do not let them surround you |
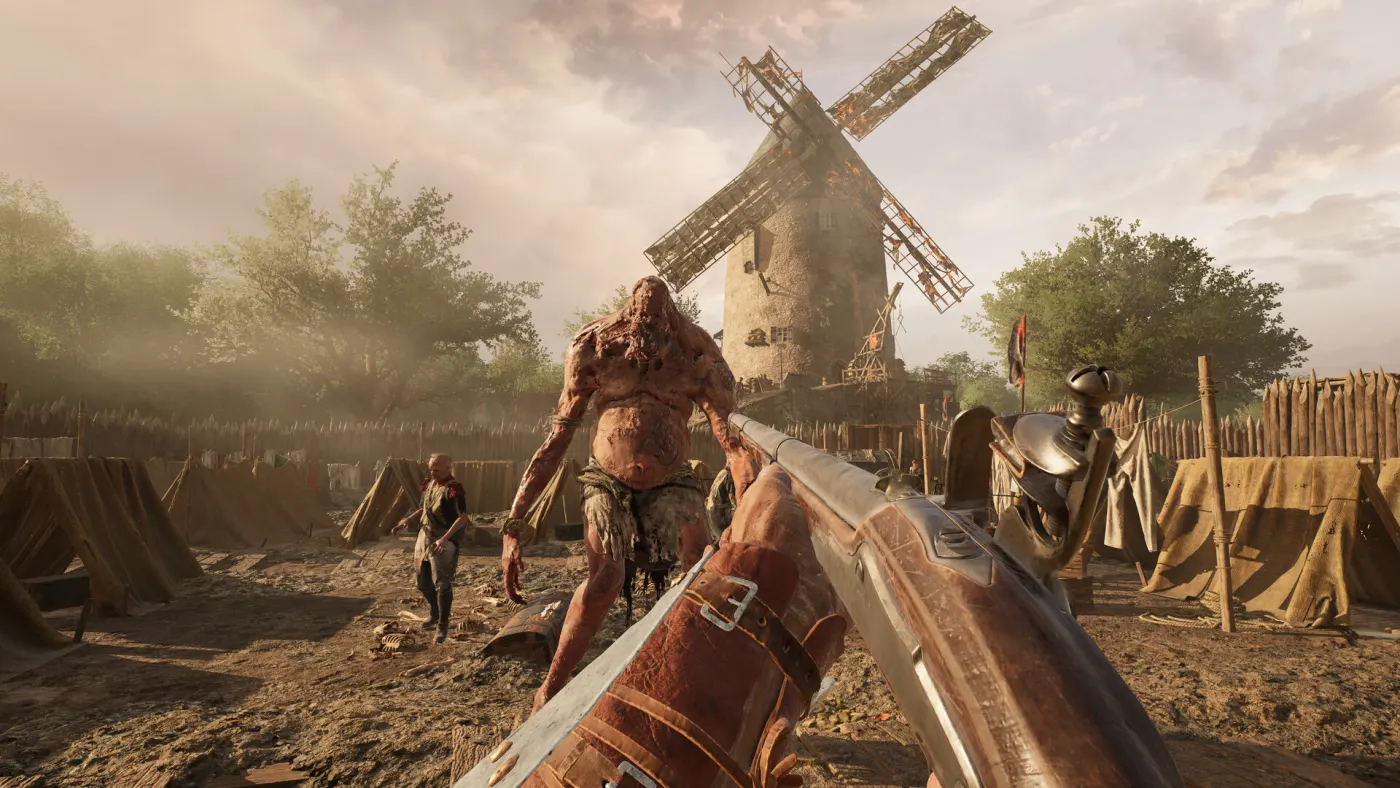
| Shambler | Medium to high | Slow but heavily armored; one swings a massive crushed hand spiked with nails | Do not trade hits; use reach, circle and save stamina for the heavy swing |
| Waif | Low to medium | Scuttles low across the floor and swipes at your legs | Step back and use a downward or overhead swing; do not look only at head height |
| Bloat | Medium | Explodes into a poison gas cloud on death; can detonate if shot | Kill it from range; never stay in the gas; do not use a close-range finisher |
| Drooler | Medium | Ranged attacker that lobs projectiles with its tongue | Break line of sight, close distance behind cover, or kill it from range |
| Brute | Very high | Mini-boss-level massive enemy; huge damage in close quarters | Do not solo it in the open; use cover, ranged damage and a planned melee finish |
Dregs are not one enemy
The Dreg family has variants with different loot pools. A Dreg Voltigeur, Dreg Military and Dreg High Class are not just visual reskins: the public databases list different drops for each. If you are farming a specific material, the variant matters.
That also means “kill every Dreg” is not always the right plan. If you need a quest trophy, target the variant that drops it; if you are just passing through, avoid the group.
Shamblers: the armored problem
Shamblers are slow, but they are heavily armored and hit like a truck. The spiked hand is a telegraphed heavy attack; the mistake is to stand in front of it and trade. Use reach, circle to the side, and keep enough stamina to dodge or block.
Waifs: watch your legs
Waifs stay low. If you are aiming at head height, you will miss them. Step back, look down, and use an overhead swing. Do not let two Waifs pin you against a wall.
Bloats: the poison trap
A Bloat explodes into poison gas when it dies, and it can detonate if shot. That makes it a zoning enemy: killing it in a doorway can deny the doorway to you as well. Kill it from range, wait for the gas to clear, and never finish it with a melee attack at point-blank range.
Droolers: the ranged threat
Droolers attack at range with their tongues. They are the enemy that punishes standing still in the open. Break line of sight, close distance behind cover, or kill them from range before they chip your health and armor.
Brutes: do not trade
Brutes are the mini-bosses of the launch roster. They are massive, hit for huge chunks of damage and can end a run in one swing. Do not solo one in the open. Use cover, ranged damage, armor and a teammate; if you have to melee, wait for the commitment and hit from the side.
Sound traps: the enemy you cannot see
Crows and hanged bodies are not enemies, but they are worse in some ways: disturbing them creates a loud cue that can be heard from far away. That cue tells other players where you are, and it can pull infected toward you.
- Do not sprint through a flock of crows.
- Do not shoot a hanged body “to check it.”
- If you hear a trap trigger, assume someone else heard it too.
What we still do not know
- Exact health, armor and damage values for each enemy.
- The full variant list and drop tables.
- Bosses inside the three dungeons (not published).
- How the planned additional Hunger types change the roster.